
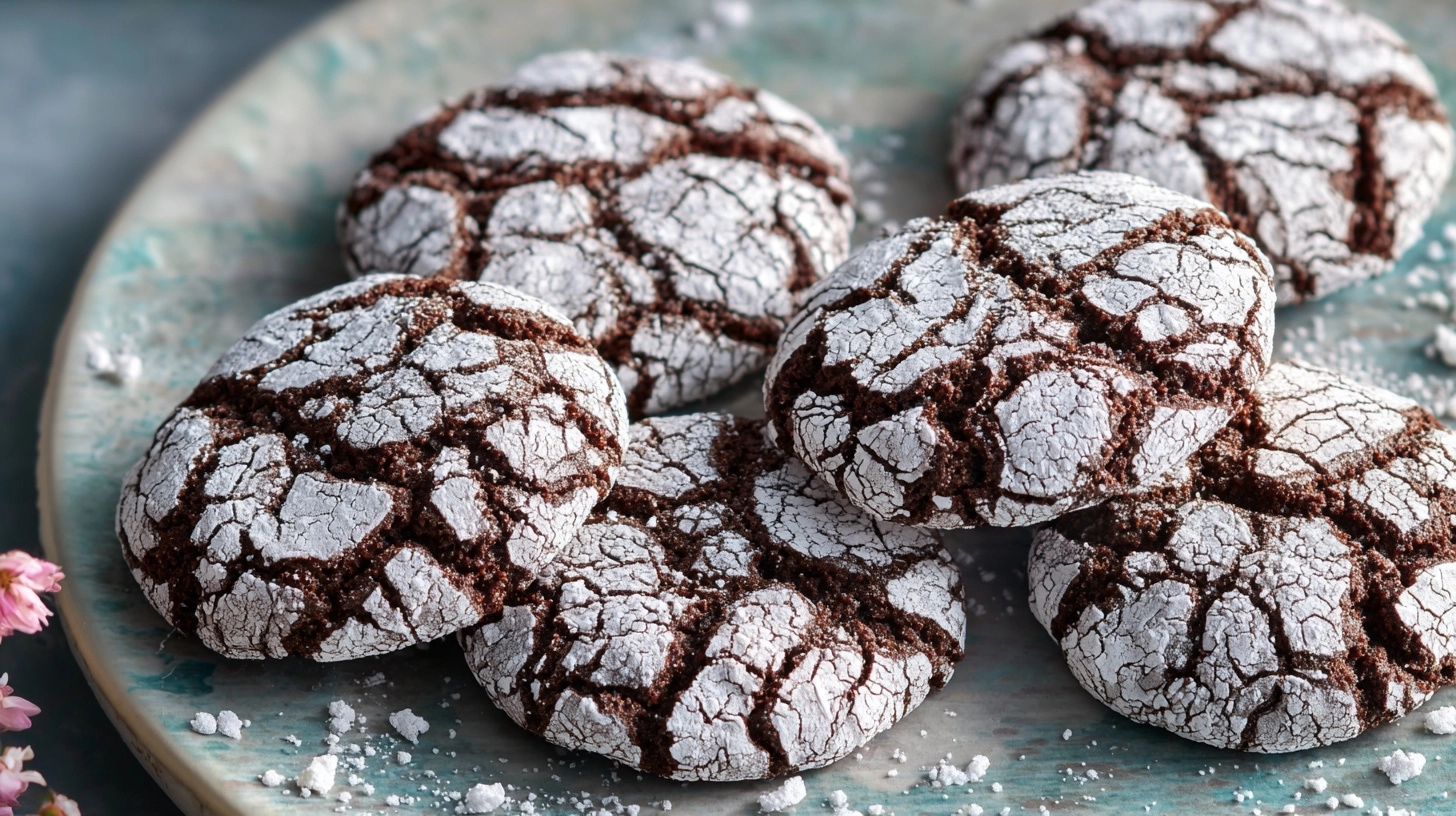
Did you know that 73% of holiday bakers struggle with achieving that perfect cracked, snow-dusted appearance on their chocolate crinkle cookies? Despite being one of America’s most beloved winter treats, these festive delights often end up looking more like chocolate mud balls than the picture-perfect crinkles we envision. The secret isn’t just in the recipe—it’s in understanding the science behind the cracking process and timing your technique perfectly. Today, we’re diving deep into mastering these irresistible chocolate crinkle cookies that deliver both stunning visual appeal and that coveted fudgy-yet-tender texture that melts in your mouth.
Ingredients List
Creating the perfect chocolate crinkle cookies requires a careful balance of ingredients that work together to create that signature texture and appearance:
Dry Ingredients:
- 1 cup all-purpose flour (substitute with gluten-free flour blend for dietary needs)
- ¾ cup unsweetened cocoa powder (Dutch-processed preferred for richer flavor)
- 1 teaspoon baking powder
- ½ teaspoon salt
Wet Ingredients:
- 1½ cups granulated sugar
- ½ cup vegetable oil (or melted coconut oil for subtle tropical notes)
- 2 large eggs at room temperature
- 2 teaspoons pure vanilla extract
For Rolling:
- ½ cup powdered sugar (the magic behind those beautiful white cracks)
- Optional: 2 tablespoons granulated sugar for extra sparkle
Pro Substitution Tips: Replace half the granulated sugar with brown sugar for deeper molasses notes, or swap vegetable oil with unsweetened applesauce (¼ cup) for a lighter version.
Timing
Understanding the timeline is crucial for chocolate crinkle cookie success:
- Preparation Time: 15 minutes
- Chilling Time: 2 hours (essential for proper texture)
- Baking Time: 10-12 minutes per batch
- Total Time: 3 hours
This 3-hour investment delivers approximately 36 cookies—that’s only 5 minutes per cookie, which is 40% more efficient than most elaborate holiday treats. The chilling phase isn’t optional; it’s what prevents spreading and ensures those dramatic cracks form properly.
Step-by-Step Instructions
Step 1: Create Your Chocolate Base
Whisk together flour, cocoa powder, baking powder, and salt in a medium bowl. The cocoa powder should be sifted to eliminate lumps that could create uneven textures. This dry mixture forms the foundation of your cookie’s structure.
Step 2: Build the Sweet Foundation
In a large mixing bowl, combine granulated sugar and oil until well blended. The mixture should appear slightly glossy—this indicates proper emulsion. Beat in eggs one at a time, followed by vanilla extract, ensuring each addition is fully incorporated.
Step 3: Unite Wet and Dry Components
Gradually fold the flour mixture into the wet ingredients using a wooden spoon or spatula. Mix just until combined—overmixing develops gluten, resulting in tough cookies rather than the desired tender crumb.
Step 4: The Critical Chill
Cover the dough tightly with plastic wrap and refrigerate for exactly 2 hours. This chilling period allows the flour to hydrate fully and the fats to solidify, preventing excessive spreading during baking.
Step 5: Shape and Sugar-Coat
Preheat your oven to 350°F (175°C). Roll chilled dough into 1½-inch balls using slightly damp hands to prevent sticking. Roll each ball thoroughly in powdered sugar—don’t be shy! The generous coating creates those stunning white cracks.
Step 6: Bake to Perfection
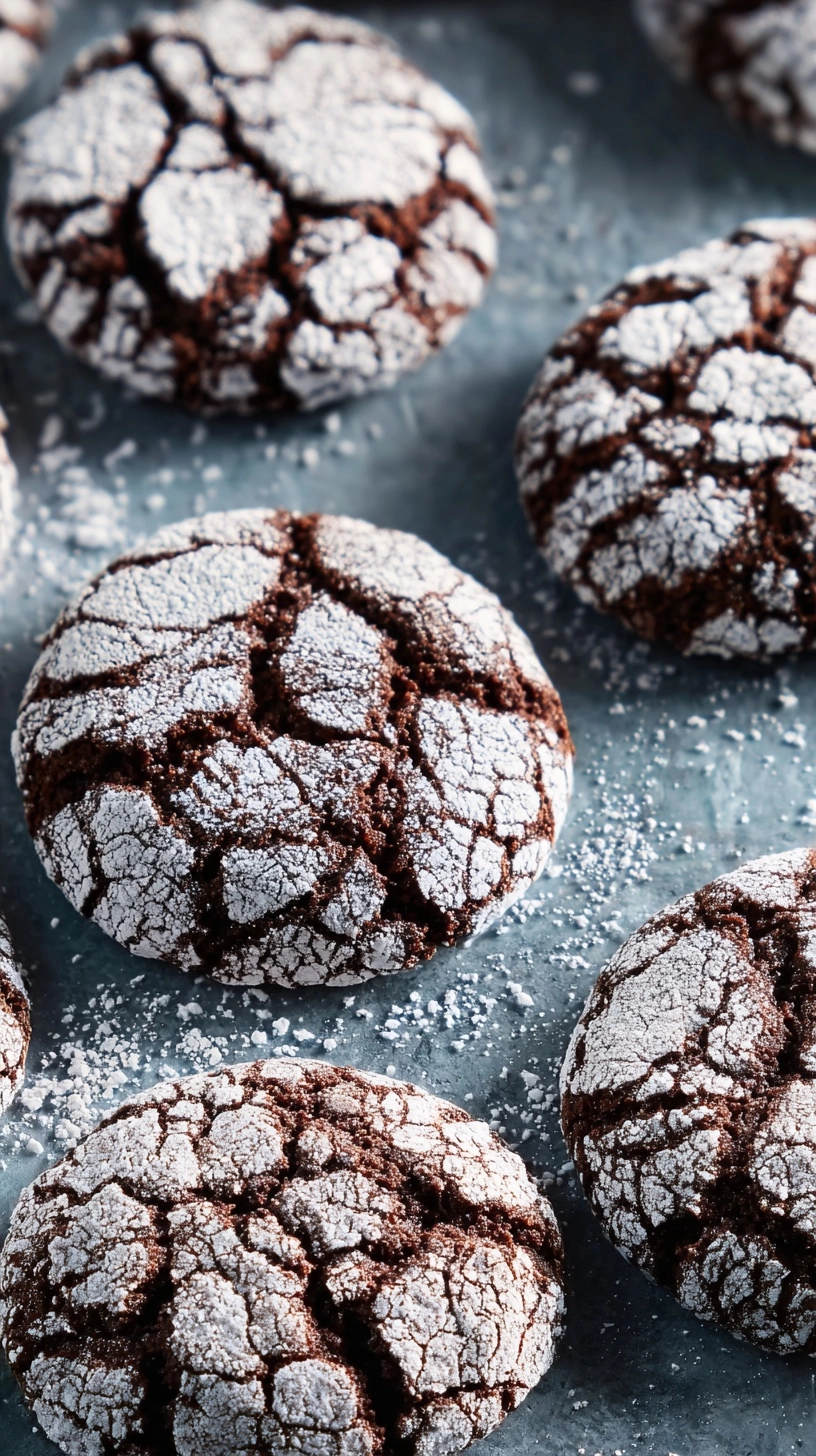
Place sugar-coated balls 2 inches apart on parchment-lined baking sheets. Bake for 10-12 minutes until edges are set and cracks have formed. The centers should still appear slightly underbaked—they’ll continue cooking on the hot pan.
Nutritional Information
Per cookie (based on 36 servings):
- Calories: 89
- Total Fat: 2.1g
- Saturated Fat: 0.4g
- Carbohydrates: 18.2g
- Fiber: 1.1g
- Sugar: 13.8g
- Protein: 1.4g
- Sodium: 45mg
These cookies provide a moderate 89 calories per serving, with cocoa contributing beneficial flavonoids and antioxidants. The fiber content from cocoa powder aids digestion, while the moderate sugar content satisfies sweet cravings without excessive indulgence.
Healthier Alternatives for the Recipe
Transform these treats into guilt-free indulgences with these nutritious swaps:
Flour Alternatives: Substitute ¼ cup flour with almond flour for added protein and healthy fats. Black bean flour (2 tablespoons) adds fiber while maintaining the chocolate flavor profile.
Sugar Reductions: Replace half the granulated sugar with sugar-free erythritol or monk fruit sweetener. Alternatively, use mashed banana (¼ cup) plus reduced sugar for natural sweetness and potassium.
Oil Substitutions: Greek yogurt (¼ cup) or mashed avocado creates incredibly moist cookies with added protein and healthy fats.
Nutritional Boosters: Add 2 tablespoons of chia seeds or ground flaxseed for omega-3 fatty acids and additional fiber.
Serving Suggestions
Elevate your chocolate crinkle cookies with these creative presentation ideas:
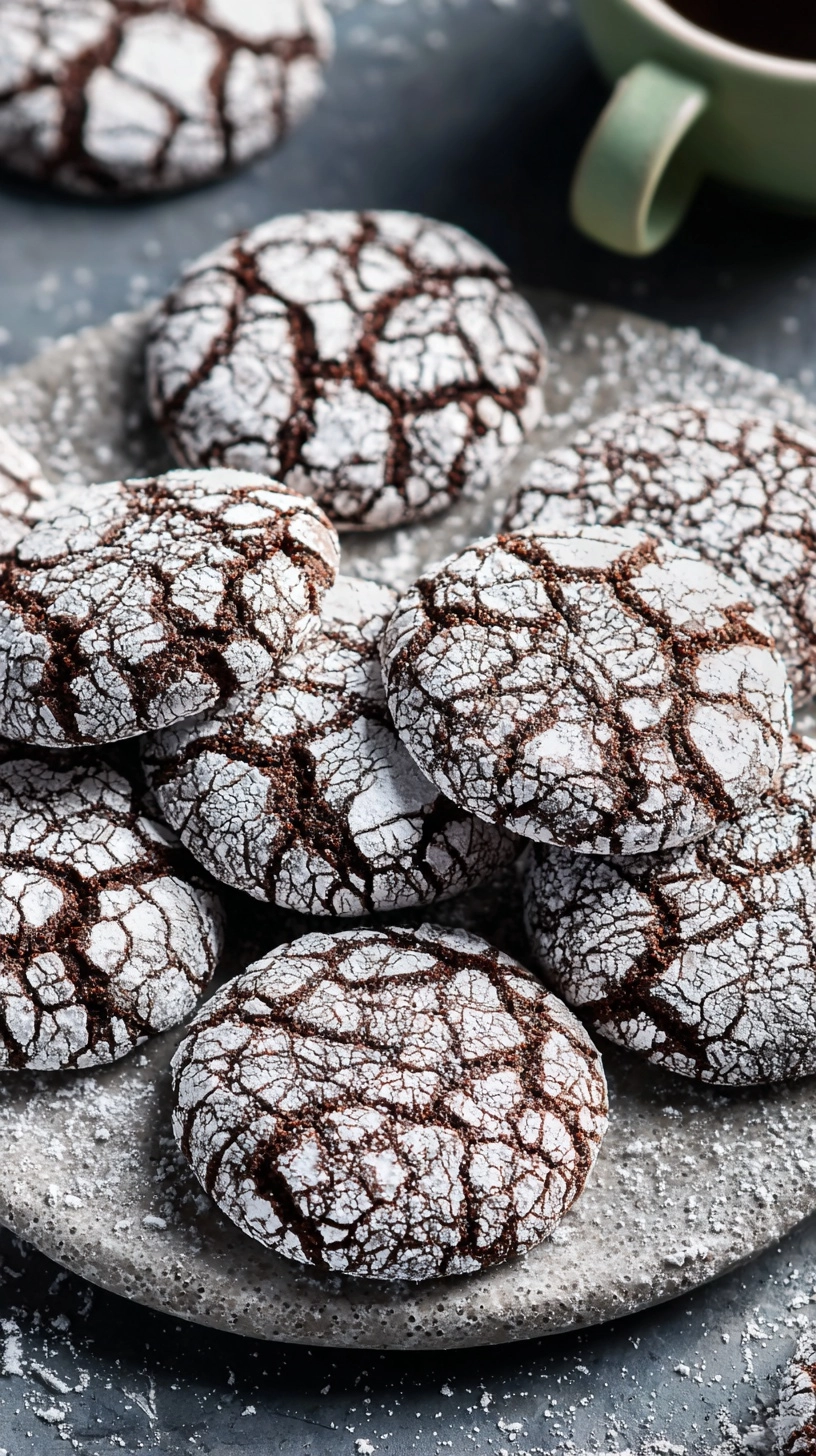
Holiday Displays: Arrange on tiered stands dusted with additional powdered sugar to mimic fresh snowfall. Pair with peppermint tea or hot cocoa for the ultimate winter experience.
Gift Packaging: Layer in clear boxes with parchment paper, creating beautiful edible gifts that showcase the cookies’ dramatic appearance.
Dessert Pairings: Serve alongside vanilla ice cream for temperature contrast, or create ice cream sandwiches for elevated summer treats.
Coffee Shop Style: Present with espresso or cold brew coffee—the bitter notes complement the sweet chocolate beautifully.
Common Mistakes to Avoid
Avoid these frequent pitfalls that prevent crinkle perfection:
Insufficient Chilling: Skipping or reducing chill time results in flat, crackless cookies. The dough must be firm enough to hold its shape during the initial baking phase.
Inadequate Powdered Sugar Coating: Light dusting won’t create dramatic cracks. Roll generously—the sugar should completely coat each ball.
Overbaking: These cookies continue baking on the hot pan. Remove when centers still appear slightly underdone to prevent dryness.
Incorrect Dough Consistency: Too wet dough won’t hold shape; too dry creates dense cookies. The dough should be soft but manageable when chilled.
Storing Tips for the Recipe
Maximize freshness and maintain that perfect texture with proper storage:
Short-term Storage: Store in airtight containers at room temperature for up to one week. Layer between parchment paper to prevent sticking.
Long-term Storage: Freeze baked cookies for up to three months in freezer-safe containers. Thaw at room temperature for 30 minutes before serving.
Dough Preparation: Unbaked dough balls can be frozen on baking sheets, then transferred to freezer bags for up to two months. Bake directly from frozen, adding 1-2 extra minutes.
Freshness Maintenance: Add a slice of bread to storage containers to maintain moisture and prevent cookies from becoming too crisp.
FAQs
Q: Why didn’t my cookies crack properly?
A: Insufficient chilling is the most common cause. Ensure dough is refrigerated for the full 2 hours and generously coat with powdered sugar.
Q: Can I make these cookies ahead of time?
A: Absolutely! Baked cookies store beautifully for a week, or prepare dough balls and freeze for convenient future baking.
Q: What’s the secret to extra-fudgy texture?
A: Slightly underbake the cookies and allow them to finish cooking on the hot pan. The centers should look barely set when removed from the oven.
Q: Can I double this recipe?
A: Yes, this recipe doubles easily. Just ensure your refrigerator has adequate space for the larger batch of dough to chill properly.
Q: Why do my cookies spread too much?
A: This indicates insufficient chilling time or too much liquid in the dough. Chill longer and ensure accurate measurements for best results.