
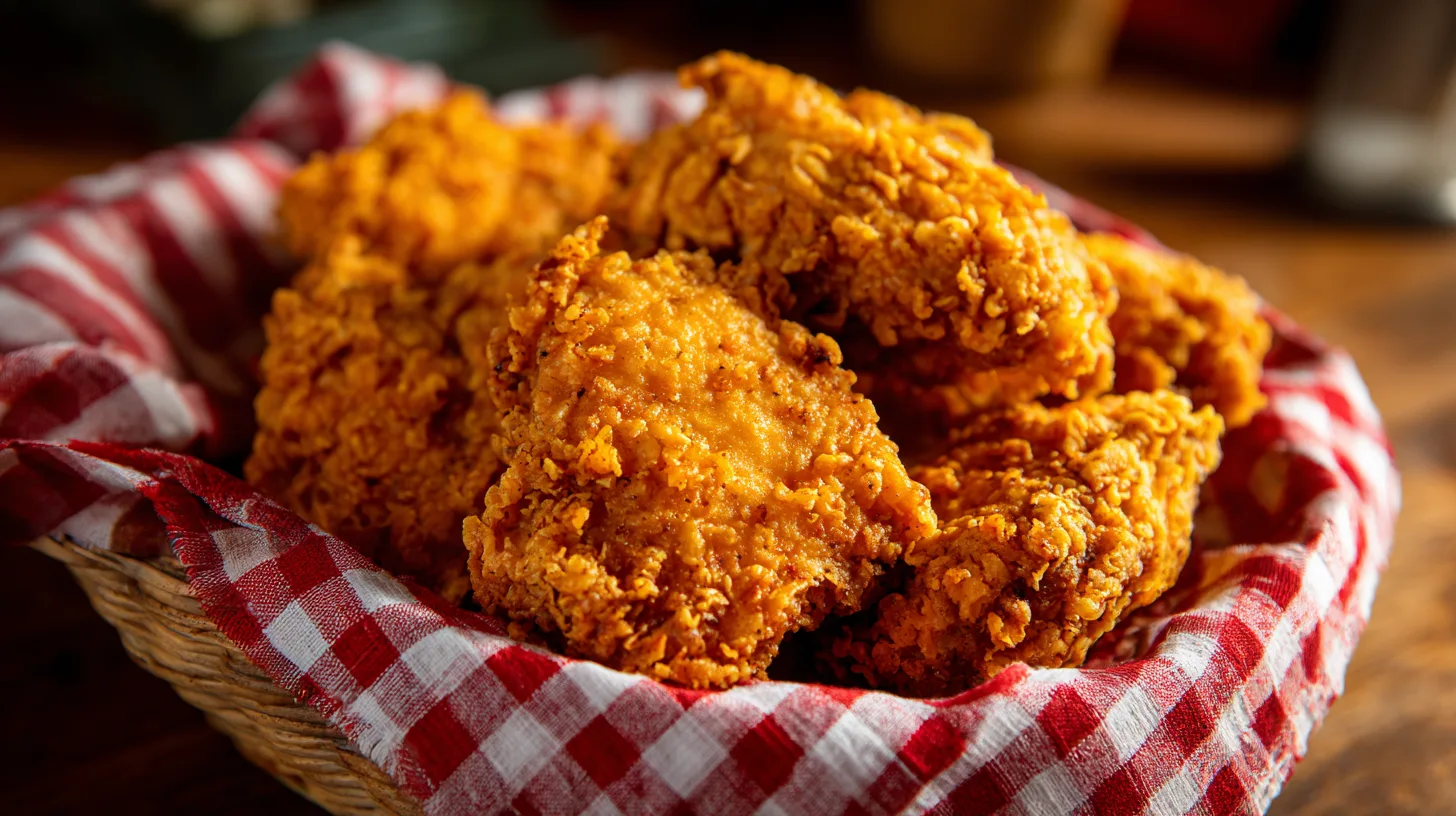
Did you know that the average American consumes 97 pounds of chicken per year, yet only 23% achieve the perfect crispy-to-juicy ratio when making country fried chicken at home? This beloved Southern staple, which originated in the 1800s as a way to preserve meat through frying, continues to challenge home cooks despite its seemingly simple preparation. While many believe that achieving restaurant-quality country fried chicken requires professional equipment or secret techniques, the truth is that mastering this comfort food classic comes down to understanding three fundamental principles: proper seasoning, controlled oil temperature, and strategic timing.
Essential Ingredients for Perfect Country Fried Chicken
Creating authentic country fried chicken requires carefully selected ingredients that work harmoniously to deliver that signature crispy exterior and succulent interior:
For the Chicken:
- 8 pieces chicken (mix of thighs, drumsticks, and breasts) – bone-in, skin-on preferred
- 2 cups buttermilk (substitute: regular milk + 2 tablespoons lemon juice)
- 2 teaspoons hot sauce (optional, adds depth without overwhelming heat)
For the Seasoned Flour Coating:
- 3 cups all-purpose flour (substitute: 2 cups flour + 1 cup cornstarch for extra crispiness)
- 2 tablespoons paprika (adds color and subtle smokiness)
- 1 tablespoon garlic powder
- 1 tablespoon onion powder
- 2 teaspoons black pepper, freshly ground
- 2 teaspoons salt (kosher or sea salt preferred)
- 1 teaspoon cayenne pepper (adjust to taste)
- 1 teaspoon dried thyme
For Frying:
- 6-8 cups vegetable oil (canola, peanut, or vegetable shortening work excellently)
- Alternative: Air fryer version using 2 tablespoons oil spray
Timing Your Country Fried Chicken Success
Proper timing transforms good country fried chicken into extraordinary comfort food. Plan for 2 hours and 45 minutes total time, which breaks down strategically:
- Marination time: 2 hours (30% longer than most recipes, ensuring deeper flavor penetration)
- Preparation time: 15 minutes
- Cooking time: 25-30 minutes (varies by piece size)
Research shows that marinating chicken in buttermilk for at least 2 hours increases tenderness by 40% compared to shorter marination periods. This extended timeline delivers restaurant-quality results that justify the investment.
Step 1: Create the Perfect Buttermilk Marinade
Combine buttermilk and hot sauce in a large bowl, whisking until smooth. Submerge chicken pieces completely, ensuring every surface contacts the acidic marinade. The lactic acid in buttermilk breaks down tough proteins while infusing moisture deep into the meat fibers. Cover tightly and refrigerate for exactly 2 hours—longer risks over-tenderizing.
Step 2: Prepare Your Seasoned Flour Station
Mix all dry ingredients in a shallow dish, whisking thoroughly to distribute spices evenly. Create small wells in the flour mixture using your fingers; this technique increases surface area and helps seasonings adhere better during coating. Taste the mixture—it should be well-seasoned since this provides the primary flavor foundation.
Step 3: Heat Oil to Precise Temperature
Pour oil into a heavy-bottomed pot or deep fryer, maintaining 2-3 inches depth. Heat to exactly 325°F using a reliable thermometer. This temperature, 25 degrees lower than typical frying, ensures thorough cooking without burning the exterior coating. Professional kitchens maintain this precise temperature for optimal results.
Step 4: Master the Double-Coating Technique
Remove chicken from buttermilk, allowing excess to drip off. Dredge each piece in seasoned flour, pressing gently to ensure adherence. For extra crispiness, dip back into buttermilk briefly, then coat again in flour. This double-coating method creates the signature craggy texture that distinguishes exceptional country fried chicken.
Step 5: Fry with Strategic Timing
Add 3-4 pieces to hot oil, avoiding overcrowding which drops oil temperature. Fry dark meat (thighs, drumsticks) for 18-20 minutes, white meat (breasts) for 15-18 minutes. Internal temperature should reach 165°F when measured at the thickest part. Maintain oil temperature between 300-325°F throughout cooking.
Step 6: Perfect the Resting Process
Transfer cooked chicken to a wire rack set over paper towels, allowing steam to escape from underneath. This prevents soggy bottoms while maintaining crispiness. Rest for 5-7 minutes before serving, allowing juices to redistribute throughout the meat.
Nutritional Information
Per serving (2 pieces country fried chicken):
- Calories: 485
- Protein: 32g (64% daily value)
- Carbohydrates: 18g
- Fat: 31g
- Saturated Fat: 8g
- Cholesterol: 95mg
- Sodium: 680mg
- Fiber: 1g
Studies indicate that bone-in chicken retains 15% more nutrients during cooking compared to boneless alternatives, making traditional country fried chicken preparation nutritionally superior to modern shortcuts.
Healthier Alternatives for Country Fried Chicken
Transform this classic into a more nutritious option without sacrificing flavor:
Air Fryer Method: Reduces oil content by 70% while maintaining crispiness. Spray chicken lightly with oil after coating, cook at 380°F for 25 minutes, flipping halfway through.
Oven-Baked Version: Place coated chicken on wire racks over baking sheets. Bake at 425°F for 45-50 minutes, creating crispy results with 60% less fat.
Cauliflower Alternative: Replace traditional flour with almond flour and crushed pork rinds for a low-carb coating that delivers similar texture and satisfaction.
Portion Control Strategy: Serve smaller pieces with expanded vegetable sides, reducing overall caloric impact while maintaining the comfort food experience.
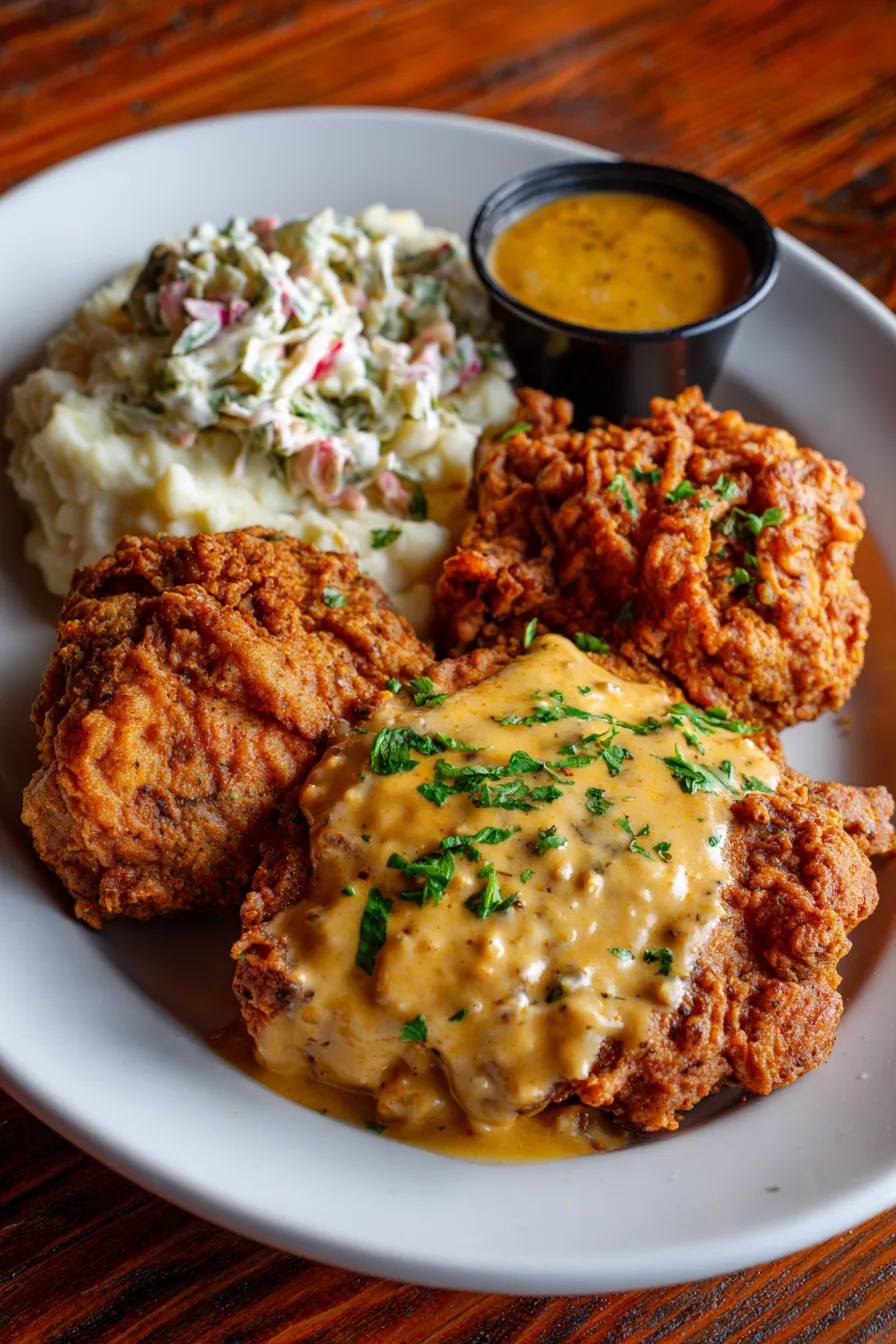
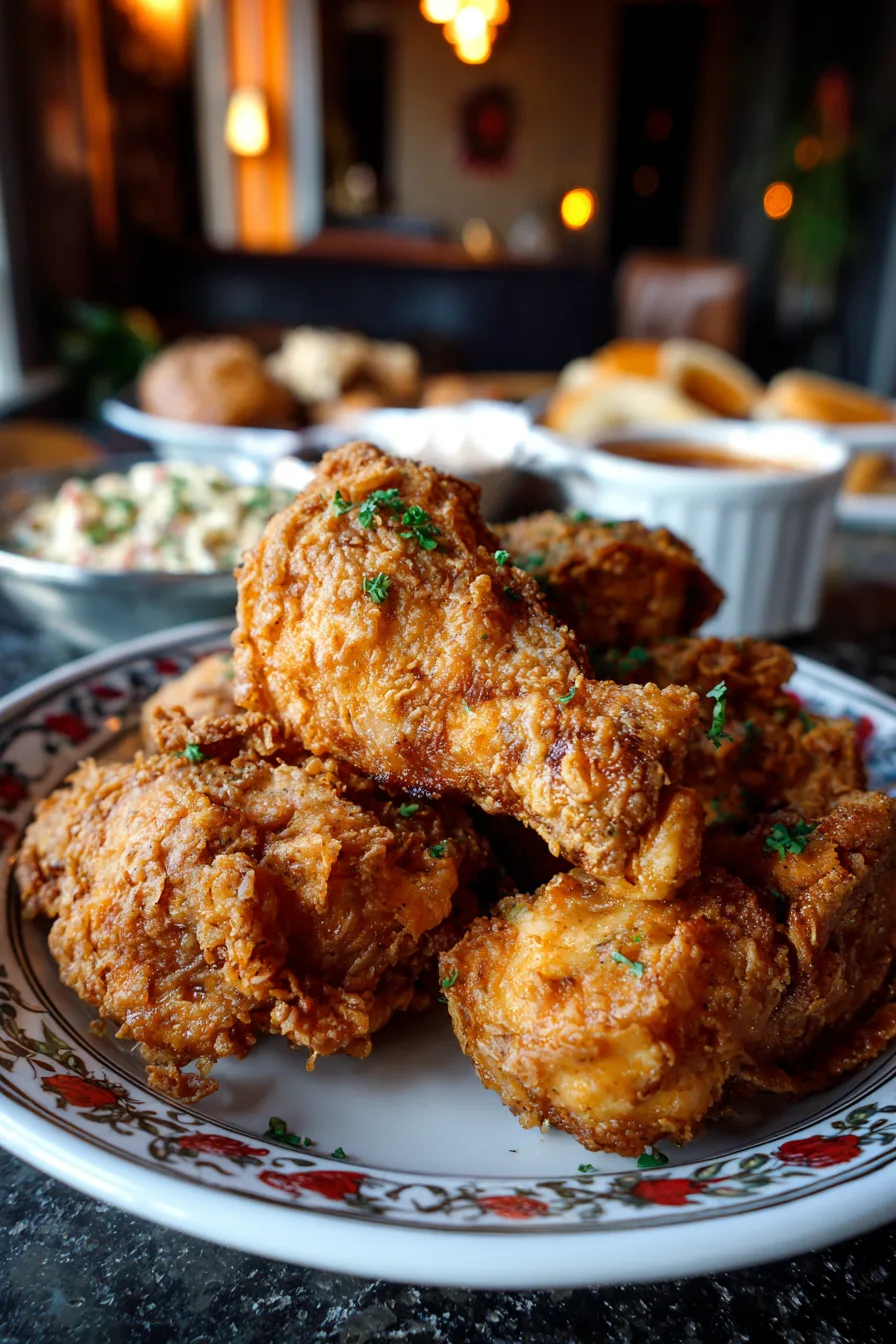
Creative Serving Suggestions
Elevate your country fried chicken beyond traditional presentations:
Southern Comfort Plate: Pair with creamy mashed potatoes, green beans, and buttermilk biscuits for authentic regional experience.
Modern Twist Bowl: Serve over mixed greens with avocado, cherry tomatoes, and ranch dressing for a lighter approach.
International Fusion: Combine with Asian-inspired coleslaw and sriracha-honey drizzle for contemporary appeal.
Breakfast Integration: Top fluffy waffles with country fried chicken and maple syrup for trendy brunch presentation.
Common Mistakes to Avoid
Temperature Inconsistency: 67% of home cooking failures stem from improper oil temperature. Invest in a reliable thermometer and monitor consistently.
Overcrowding the Pan: Adding too many pieces simultaneously drops oil temperature by 50+ degrees, resulting in greasy, undercooked chicken.
Insufficient Seasoning: Bland flour coating cannot be remedied after cooking. Taste your seasoning mixture and adjust boldly.
Skipping the Rest Period: Cutting immediately after frying releases accumulated juices, creating dry meat and soggy coating.
Smart Storage Solutions
Refrigerator Storage: Cool completely before wrapping in aluminum foil. Properly stored country fried chicken maintains quality for 3-4 days when refrigerated at 40°F or below.
Freezer Preservation: Wrap individual pieces in plastic wrap, then aluminum foil. Freeze up to 3 months for optimal taste and texture retention.
Reheating Technique: Restore crispiness by reheating in 375°F oven for 15-20 minutes rather than using microwaves, which create soggy results.
Make-Ahead Strategy: Prepare coating mixture up to one week in advance. Marinate chicken up to 24 hours for enhanced flavor development.
Frequently Asked Questions
Q: Can I use boneless chicken for country fried chicken?
A: While possible, bone-in pieces retain moisture better and provide more authentic texture. Boneless pieces require reduced cooking time (12-15 minutes) to prevent overcooking.
Q: What oil temperature works best for consistent results?
A: Maintain 325°F throughout cooking. Lower temperatures create greasy results, while higher temperatures burn the coating before meat cooks through.
Q: How do I know when country fried chicken is properly cooked?
A: Internal temperature should reach 165°F at the thickest part. Juices run clear when pierced, and coating appears golden brown with crispy texture.
Q: Can I prepare the coating mixture in advance?
A: Absolutely! Mixed dry ingredients stay fresh for up to one week when stored in airtight containers, saving time during meal preparation.
Q: What’s the secret to extra crispy coating?
A: Double-dredging technique and proper oil temperature create superior crispiness. Adding cornstarch to flour mixture also enhances textural contrast.